
Hey Guys! This time I want to teach you to make like & view features on websites using Next.js and MongoDB. Super easy and... FREE!
Background
For those of you who are beginners, have you ever wondered, how come a post on a blog or video can be seen **how many watched & liked? ** on a post on youtube or my blog that displays several people who like and who view the page. The thought must be complicated: having to store data lah, tracking users lah ... But calm down, it's actually really easy.
in terms of storing data you are right. it's just that we need to know that every time we visit or press the like button we actually perform an action that saves data to their storage so if you don't visit or press the button, there will be no data storage.
The point is:
Every time someone likes or opens the page, we just save the data to the database. That's it!
MongoDB Atlas
- Visit mongodb.com/atlas
- Just log in using Google to make it faster
- Create a new Cluster → Select Free Tier
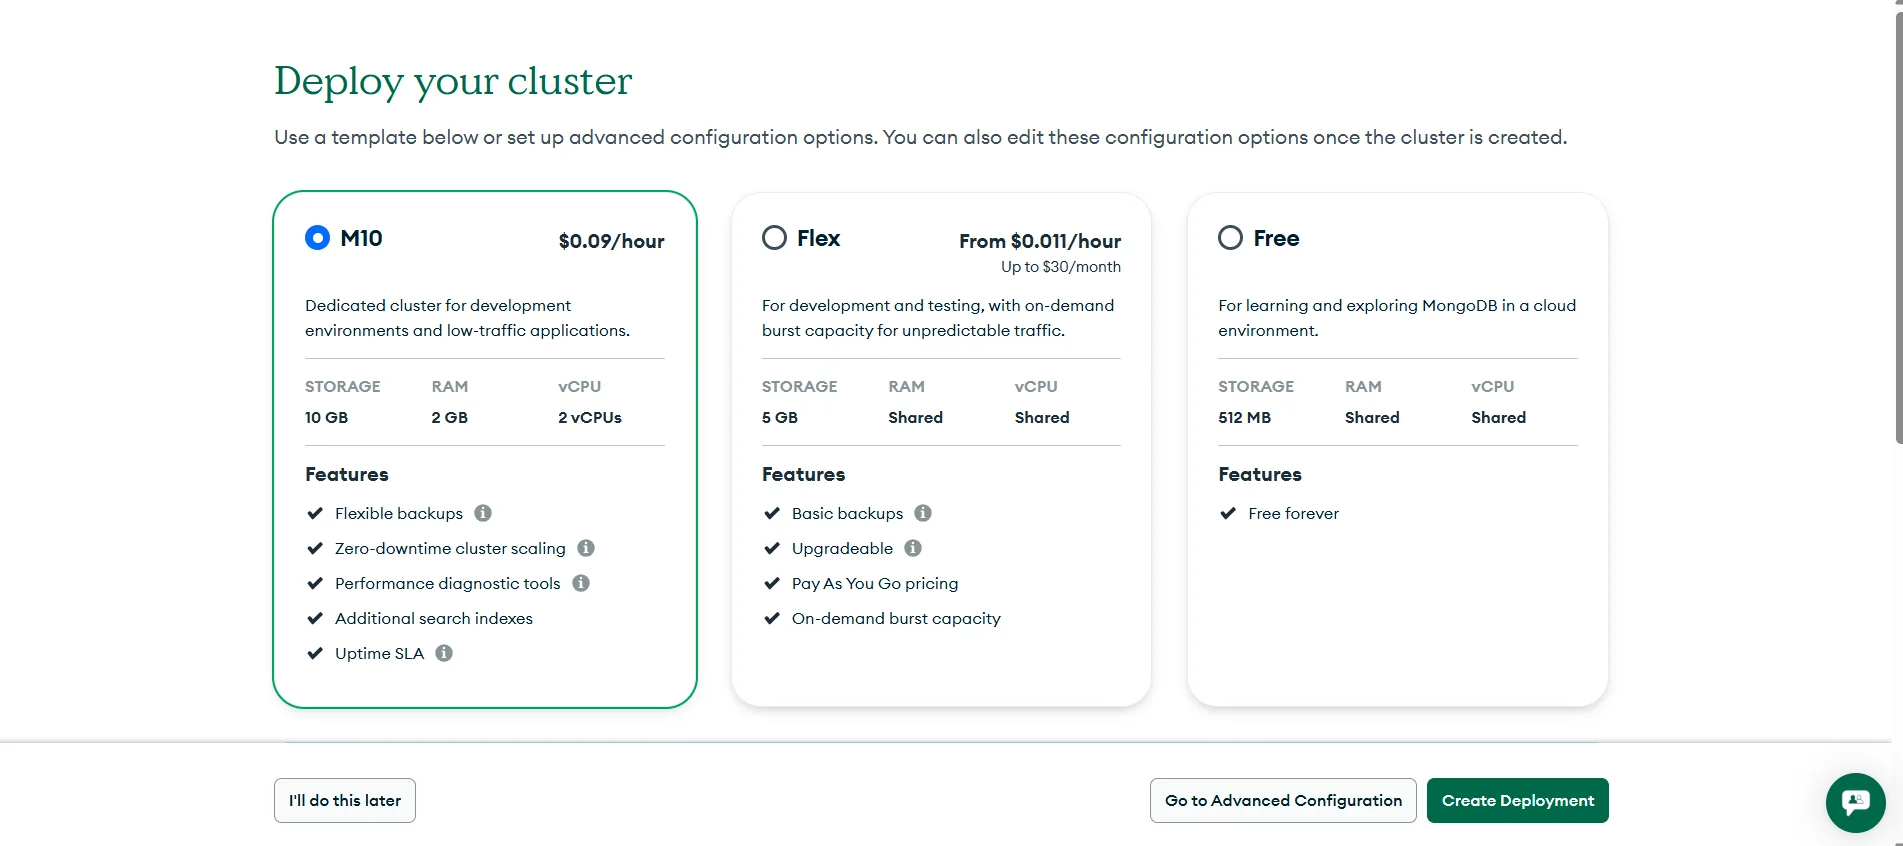
Don't worry, we use the free one. That's enough for this feature.
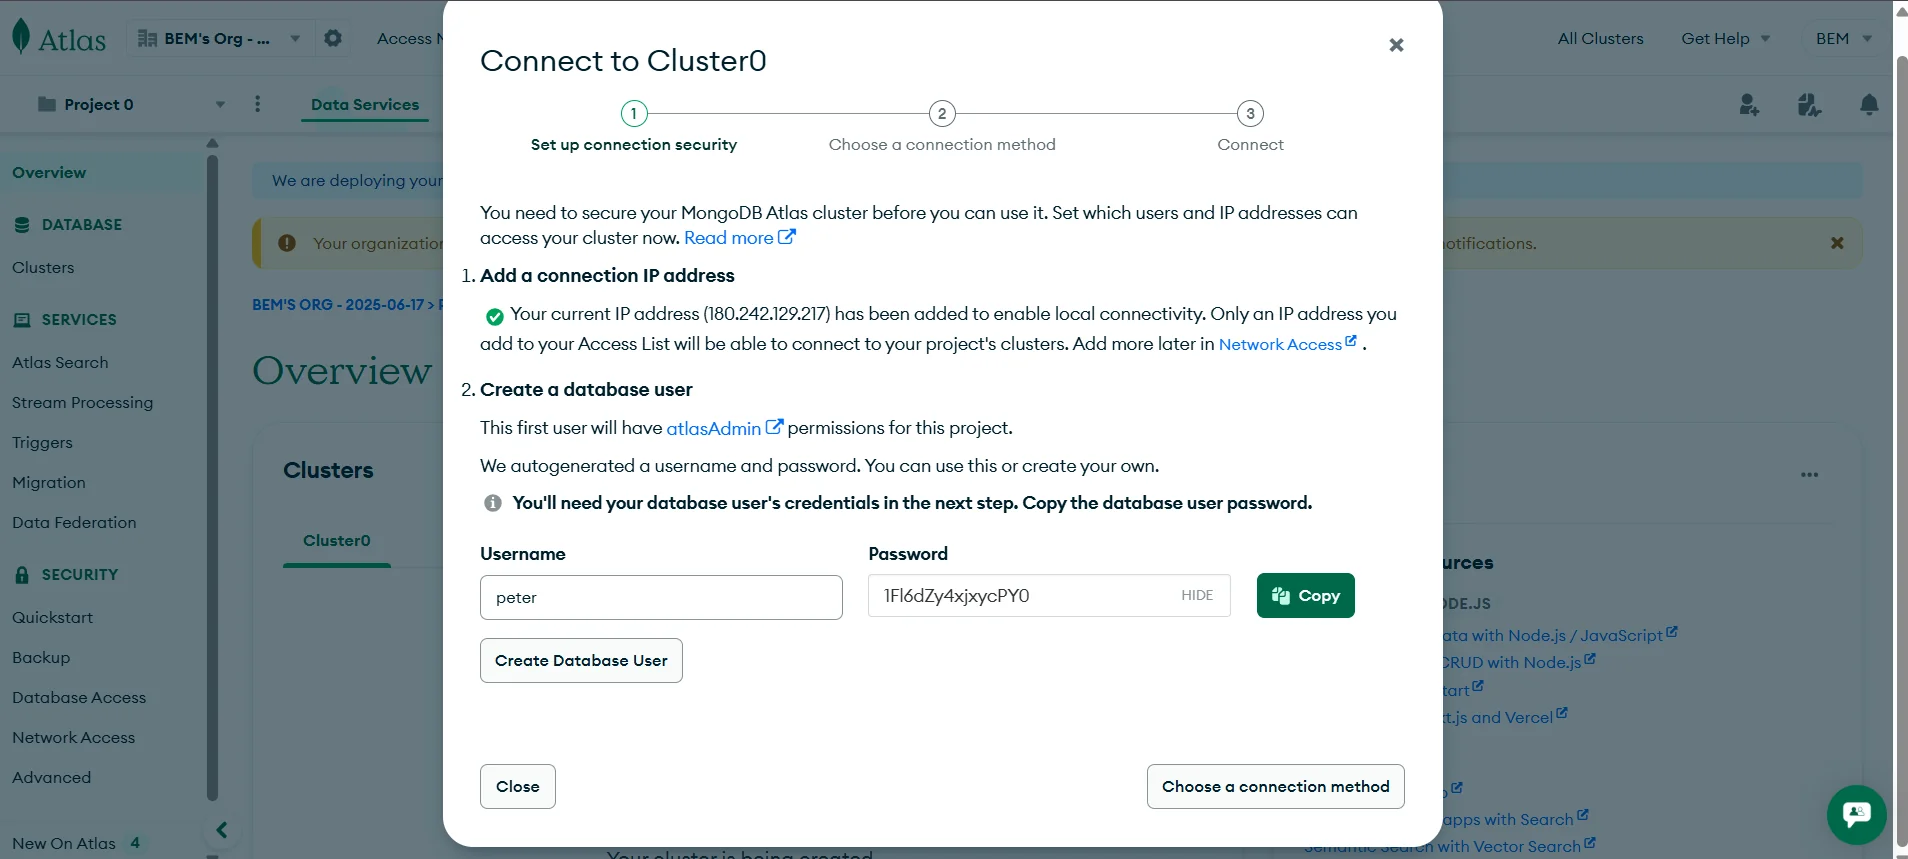
- Save username and password because it will be used later and close it
- Username:
peter - Password: 1FI6dZy4xjxycPYO
- Username:
- Click Browse Collections → Create new databases and collections
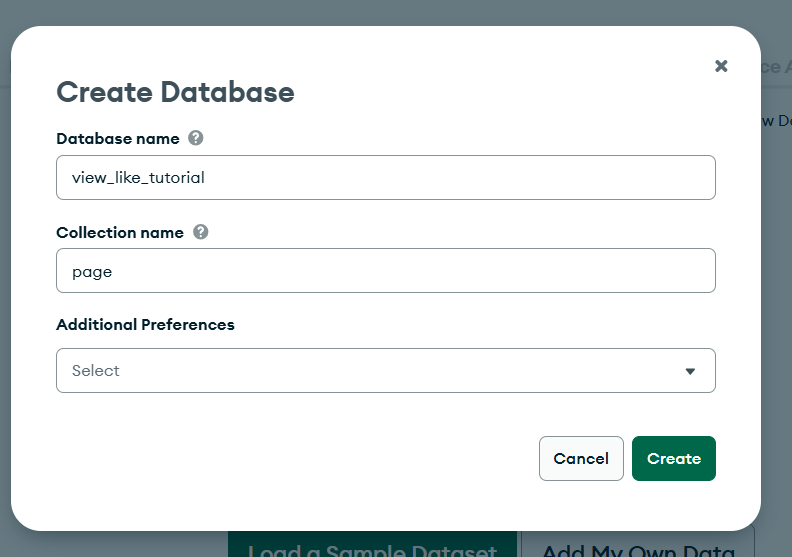
🧽 Tips: Delete all sample data to make it clean, and pay attention to the name of your database and collections.
Next.js Project
Actually, you can use any framework, but this time we use Next.js because I titled it NEXT JS!!!
- In your Next.js project, install it first:
npm install mongodb- Create .env in the root of your project, filled with:
MONGODB_URI=mongodb+srv://peter:<password>@cluster0.msnxyyx.mongodb.net/?retryWrites=true&w=majoritywell if you are confused about MONGODB_URI you can go to Overview → Connect → Connect your application → Copy URI connection string
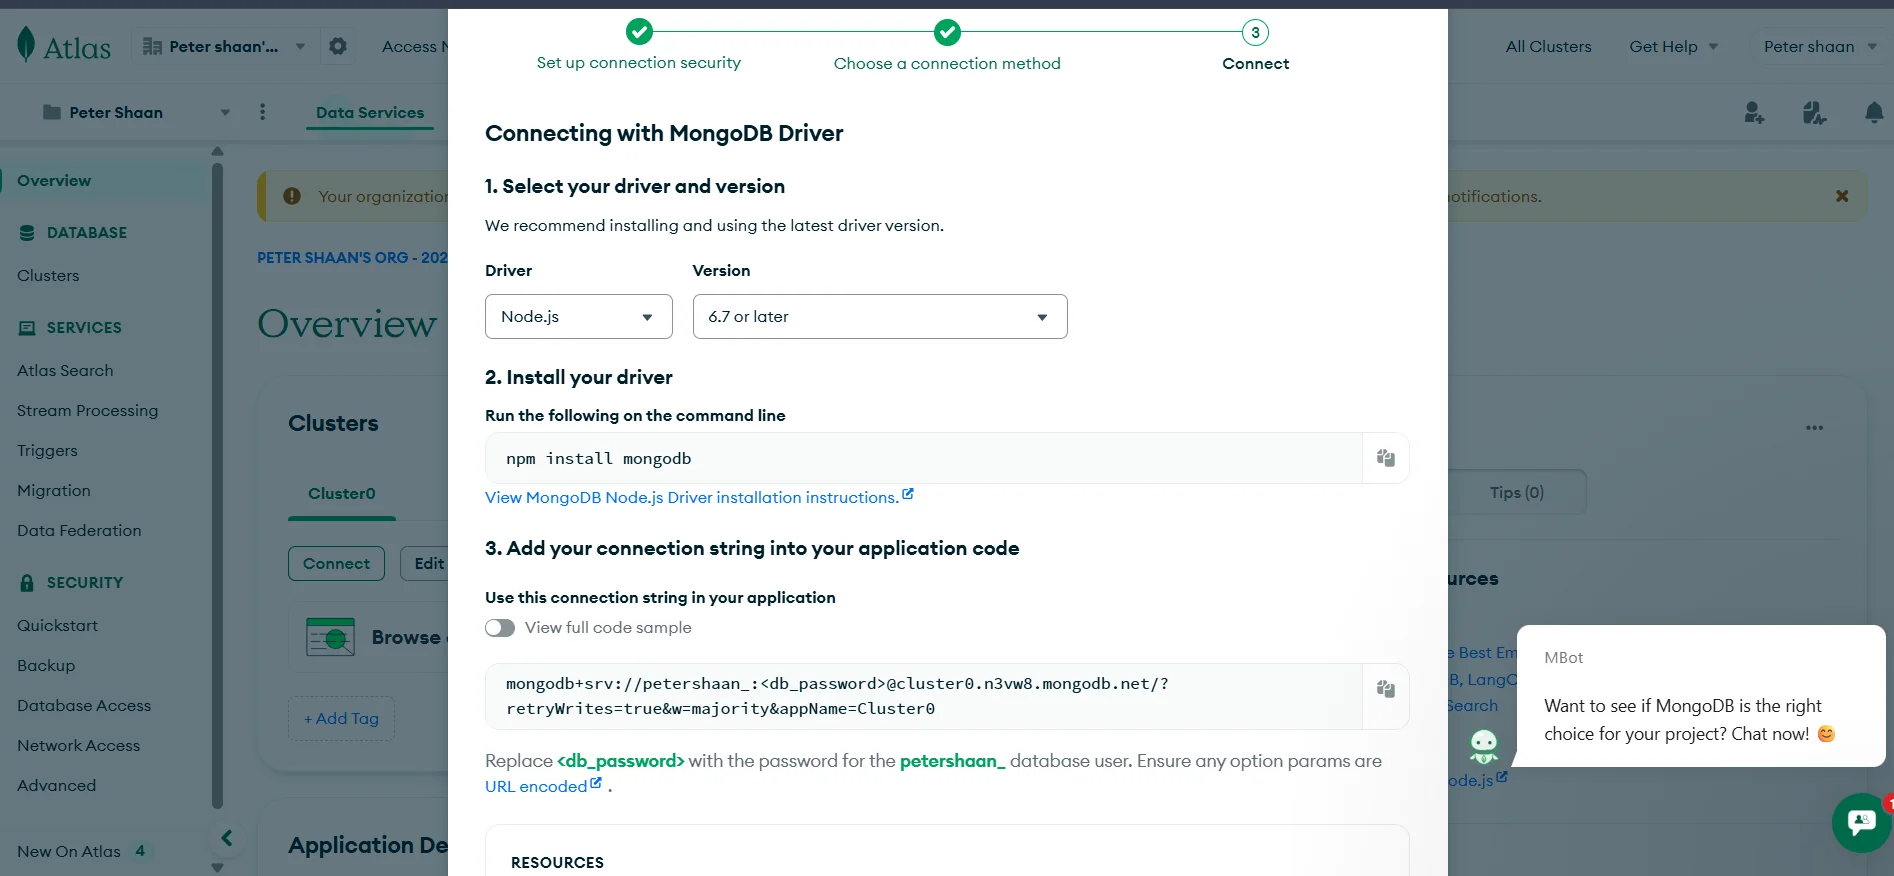
⚠️ Don't forget to replace <password> with the password you created in MongoDB Atlas earlier!
- Create a
lib/mongodb.jsfile inside the app folder to connect to MongoDB:
import { MongoClient } from "mongodb";
import type { Db } from "mongodb";

const uri = process.env.MONGODB_URI;

if (!uri) {
  throw new Error("MONGODB_URI is not defined");
}

const client = new MongoClient(uri);


let db: Db;

export const connectDB = async () => {
  db = client.db("view_like_tutorial");  //ini adalah database yang tadi dibuat
};

export const getDB = () => {
  if (!db) {
    throw new Error("Database not initialized");
  }
  return db;
}; -
Make sure connectDB() is called before DB access, for example in the route API.
-
Just play with the logic in your route API. For example, make an API for increment view and like if you use ORM or moongose / prism it's even better here I won't embed the code but you can visit this github and clone it at your place for learning.
-
Example API route for increment view:
export async function POST(req: NextRequest): Promise<NextResponse> {
  try {
    const body = await req.json();
    const title = body?.title || "default";

    if (!title) {
      return NextResponse.json(
        { error: "Title parameter is required" },
        { status: 400 }
      );
    }

    await connectDB();
    const db = getDB();
    const post = await db.collection("page").findOne({ title: title }); // ini adalah collection yang tadi dibuat

    let likes;

    if (post) {
      await db
        .collection("page")  // ini adalah collection yang tadi dibuat
        .updateOne({ title: title }, { $inc: { likeCount: 1 } });
      likes = (post.likeCount || 0) + 1;
    } else {
      await db.collection("page").insertOne({ // ini adalah collection yang tadi dibuat
        title: title,
        likeCount: 1,
        viewCount: 0,
      });
      likes = 1;
    }

    return NextResponse.json({ likes }, { status: 200 });
  } catch (error) {
    console.log("Error incrementing likes:", error);

    return NextResponse.json(
      { error: "Internal Server Error" },
      { status: 500 }
    );
  }
}
⚠️ Note that you have created a page collection in MongoDB Atlas!
Done!
Your website is now officially connected to MongoDB! and can perform view and like actions on your website.
For Example You can visit the Playground
📚 Challenge
- If you want to be even better, whitelist ip that has stored data so that likes cannot be repeated or views cannot be repeated if refreshed, just play logic
Hope this helps! 💖